Products
Solutions
Resources
9977 N 90th Street, Suite 250 Scottsdale, AZ 85258 | 1-800-637-7496
© 2024 InEight, Inc. All Rights Reserved | Privacy Statement | Terms of Service | Cookie Policy | Do not sell/share my information

A convenient way to add multiple issues is through import using the issue import template. The issue template includes the fields found on the issue Details page.
You can also export existing issues, make changes, and reimport the data.
From the Issue Log, click the Import icon to begin downloading.

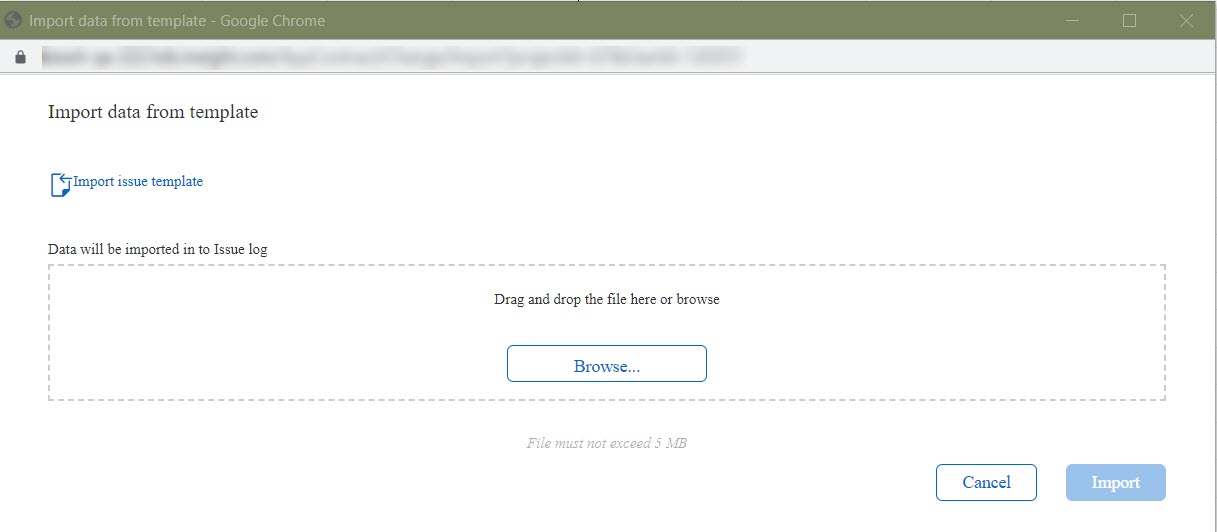
The Import data from template dialog box opens for you to import and save the template or for you to drop a completed template to be uploaded.
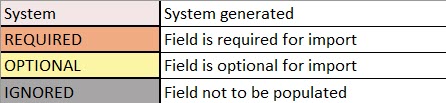
The template is an Excel spreadsheet. The first worksheet contains the Instructions for the template. Here is where the legend and guidelines are located. The guidelines describe the information on the Import template, exporting with data, and how to update or add more information to the existing data. The second worksheet, Template, is where you enter your data for the issues. Drop-down fields are populated from the organization and project settings. The only required fields are Issue name and Issue start date. It is recommended to download a new template each time you import, so the fields and field values are current. The columns are color coded to indicate which columns are system generated, required data, optional data, and ignored data.
After you add your information and save the worksheet, you can import it.
Change validates the dates based on the person who imports the data. If the dates do not match the preferences of that person, Change generates an error in the import history and deletes the date. You must then enter the dates manually before you can complete the import.
Do not change the names of the spreadsheet tabs.
Import issues into change when you want to quickly add multiple issues to the Issue log.
The import template reflects the fields on the Issue Details page. It is recommended to download the template each time you want to import issues, so the fields and field values are current.
From the Issue log, click the Import icon. The Import data from template dialog box opens.
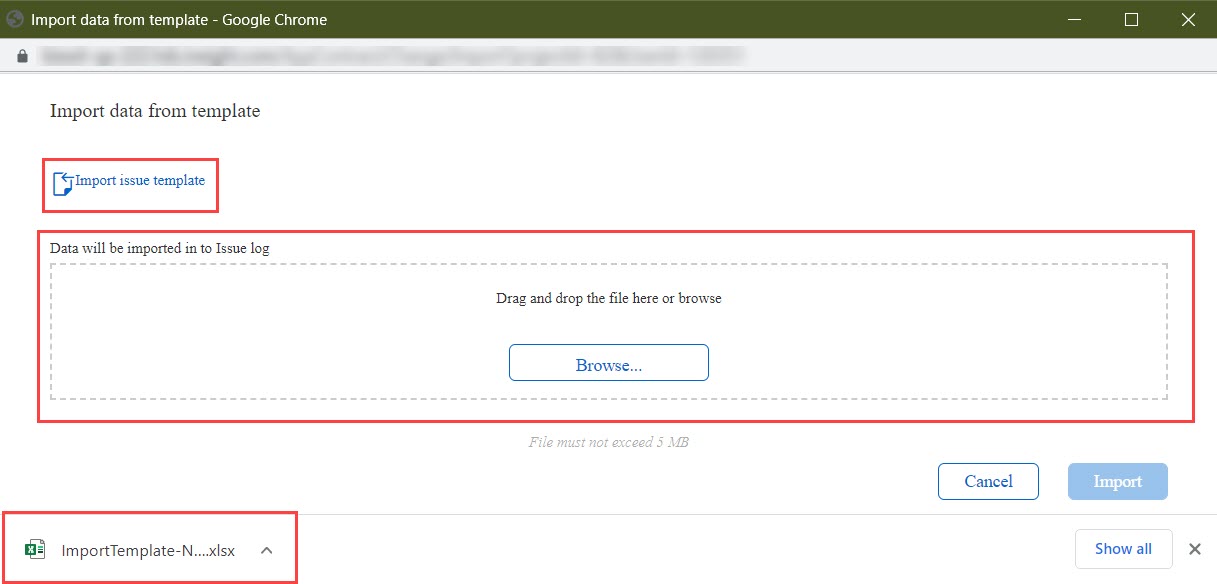
Click Import issue template to download the template.
Open the email to view the results.
If the status is Complete, the issues have been added successfully. If you want to review the import you can click Review data to see a summary. The Import history page opens, and the process is complete.
If status is Pending, click Review data. The import history page opens. All errors are flagged with a warning icon.
Correct any errors and make any other changes as needed. After you have corrected or updated all fields, click Import.
What's next: If workflow is turned on, issues come into Change with the status In approval, and they do not get issue IDs until they are approved; the issue ID is Pending. Workflow emails are sent for each new issue included in import. If workflow is turned off, issue IDs are assigned upon import, and the status is Not applicable.
You can import issues into Change using the Create Issues API. The API lets you consolidate all issues in one place by importing issues in bulk or connecting to a third-party issue creation tool. For additional information about the Create Issues API, refer to the API documentation in Resources > APIM Documents and the InEight API Developer Portal.
The export with data function lets you make changes to multiple issues by exporting the data to an Excel template and then reimporting.
Click the Export icon, and then select With data to download a template. You can then make your changes and then follow the procedures to import the issues.
Additional Information
9977 N 90th Street, Suite 250 Scottsdale, AZ 85258 | 1-800-637-7496
© 2024 InEight, Inc. All Rights Reserved | Privacy Statement | Terms of Service | Cookie Policy | Do not sell/share my information